Manage Your Google Analytics: Users, Roles & Permissions
If you don't have a Google Analytics Account - You Can Set One Up In 2 Minutes.
In this post we'll provide some guidance to ensure that we can retain ownership of our Google Analytics Account and our website's traffic data. All the while, we'll still be able to provide key team members and third party vendors access without sacrificing the security of our digital data.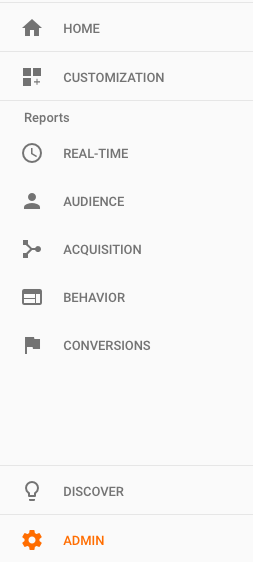
In addition to our Google Analytics Account there are two other key digital assets that we'll want to control (or at least have piece of mind that they were set up in a way that we retain ownership). You can read more about Digital Governance Best Practices for your Brand.
Let's start by logging in to our Google Analytics Account.
Click "Admin" in the left vertical navigation
This will take us to the Administration Dashboard where we can adjust settings at an Account, Property or View level:
The admin dashboard will look something like the image below (minus the red circles and underscores). This screenshot is an attempt to articulate the idea that we can manage user capabilities at the Account Level, Property Level or View Level.

Determine the Level of Access We Want to Grant
We usually request 'Account' level access, but depending on the person we are granting access we might want to give them access to our:
- Account - This is the top most level access to our Google Analytics
- Property - This could be our website, our mobile app or even a device (kiosk or POS)
- View- This is a defined data set of a property. We can create a variety of different views of the same property
Whatever level of access you feel is right Click "User Management" to add/edit/remove users at that level.

Here is a really great resource from Google that explains Google Analytics' Hierarchy of Accounts, Users, Properties and Views.
Add The New User's Email & Set Their Permissions
After you have determined whether a new user should have Account, Property or View access we want to input the new user's email to which we want to provide access to our data. Then we can also customize their permissions. Depending on this new user's function we can allow them to:
- Read & Analyze - Basic access to read and manipulate reports (by dates, filters, secondary dimensions, and segmentation)
- Collaborate - 'Read & Analyze' plus ability to collaborate on assets like dashboards & ability to make annotations
- Edit - 'Collaborate' plus admin functions like add/edit/delete accounts, properties, views, filters, and goals.
- Manage Users - Can add/edit/delete users and assign permissions, but does not include 'Edit' or 'Collaborate' permissions
It is not uncommon to give new users (third party vendors) up to 'Edit' level permissions so they create goals, filters and custom reports. It's recommended to reserve the ability to 'Manage Users' as a permission exclusively for internal company team members.

When giving out permissions it's good advice to take things slow, much like in personal relationships. Give a new user a little bit and let them see how far they can go with those capabilities. If they need access to more, let them ask, give pause and think if it makes sense to give them that additional access.
Here is more info from Google about User Permissions Settings in Google Analytics.
Notify Your User Via email
If you elect to notify this user by email they will receive an email from Google that looks like this:

Here is a great resource from Google if you'd like more info about Adding, Modifying and Deleting Users in Google Analytics.
Was this helpful? Either way we'd love to hear from you in the comments below.